
Building an AK sporter Part 4
- Dec 16, 2021
- 2 min read
Now I can turn my attention to installing the barrel and setting headspace. Just a quick reminder about headspace. This nothing more than the measurement from the face of the bolt when it’s closed against the breech, all the way to where the shoulder of the cartridge is when loaded into the chamber. This is important. If the bolt closes on a GO gauge, then the headspace is fine. If it doesn’t close and lock the breech on a live round, either the cartridge won’t fire or you may have the gun fire out of battery. The latter situation is bad because you could get hot burning gasses back into your face or damaged the gun. If the bolt closes on a NO GO gauge, the firing pin may not strike the primer resulting in a misfire…. Or….. the case could stretch enough to separate and allow hot gasses to blast back into you face, etc. The headspace gauges come as a standard set of GO and NO GO which indicate the minimum and maximum safe amount of headspace. The third gauge is called FIELD. This one indicates that the headspace has exceeded the absolute maximum and the gun is dangerous to shoot. I rarely use the FIELD a gauges during my builds. I only use them to check the headspace in another gun to see if they’re out of spec too far.

To press in the barrel and make sure I have the proper headspace, I place a GO a gauge in the chamber, and slip the bolt in behind it in the locked breech position. I realize there are other ways to do this, but this is the method I chose in this particular rifle. Then I carefully press the barrel in the receiver, while watching to see if it starts to torque or bend under pressure.
once it looks like the chamber end of the barrel just lightly “kisses” the bolt face with the headspace gauge in place, I stop. Then I check to see if I can twist the bolt back and forth with finger pressure and a slight resistance to see if it will lock and unlock. Too much pressure means I’ve gone too far and the headspace is too tight. If the bolt is wiggly and sloppy with the headspace gauge in place, then I slightly bump the barrel just a little bit deeper.
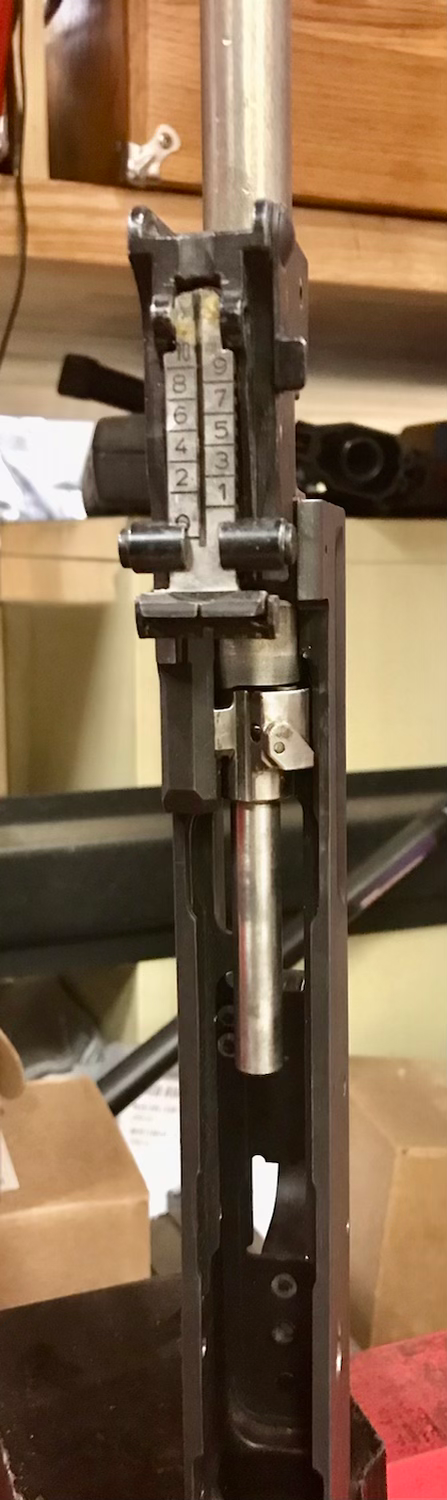
Here you can see the headspace gauge in the chamber. Sitting at my work bench, I close and open the bolt a few times on the gauge to make sure it fits the way it should.

Here you can see the bolt fully closes and locks into the trunnion with the headspace gauge in the chamber.

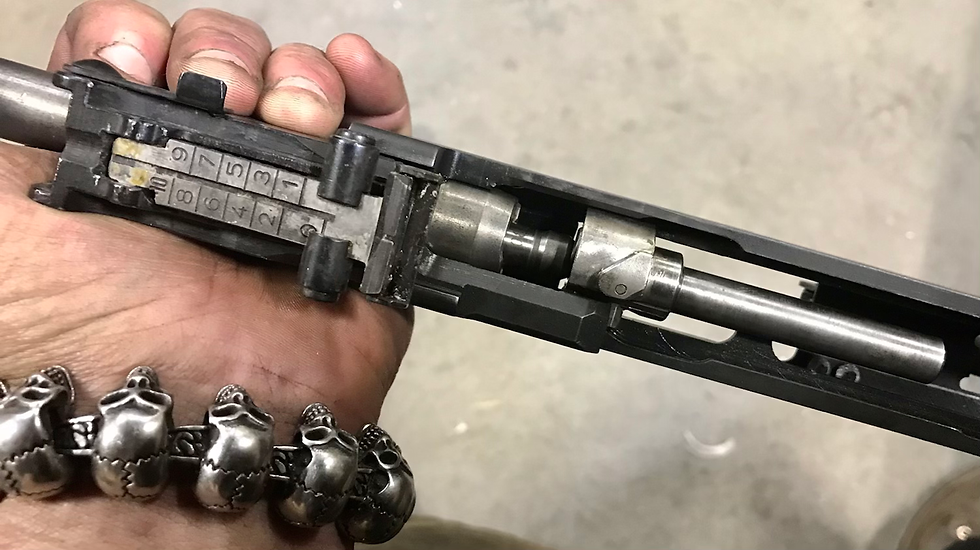
Here you can see the bolt just barely starts to close but doesn’t quite catch the locking lugs with the NO GO a gauge in the chamber.

Now that the barrel is set and properly headspaced, now’s the time to cross drill and pin the barrel into place. Remember that I said earlier that most Yugo milled Kalashnikov rifles utilize a threaded barrel ? Well this one gets pressed and pinned in place just like those with a stamped receiver.


Comments